Showing posts with label plants. Show all posts

Thursday, March 15, 2012

Air plants

Air plants {not like air guitars}  are fun and easy to have around the house.  They are easy to care for because they get what they need just from the air.  They do need moisture so I spritz this one once a week and the rest I soak for ten minutes once a week.  I also do put them in the sun just after watering. 
 I copied this light bulb idea from a google search for terrariums.  I went through 3 bulbs to get it right.  It really is stunning and fun to have on display.  It would be great for a desk top.
 These are small ones and they do come in much larger sizes.  It is endless where you could put them as they go where other plants can not. 
 This one is more whimsy, I like the way it curls.

They make for an easy terrarium.  I use sterile moss from the Dollar store or just some rocks or marbles.

Happy Crafting!

Pincushion Creations

Saturday, March 10, 2012

Succulents cutting to root


I have loved succulent plants ever since I was little.  My mom who did not like working in the garden much, had Hens and Chicks in our front yard.  I planted some at our first house and now have several variety's in and around my new home. They are great for any where, as they like dry areas and in the Northwest its wet and they seem to do fine.  Here are what you can do with them and hopefully you will fall in love with them too.

Here is how to take cuttings and start new plants.
 Pull off stems from plants. 
 This one already started a new plant when it fell off in to my pot.  They root very easily.
 Cut into sections.  This is an Aloe Vera plant.
 These cluster and can be pulled carefully at the base and wiggled out.  Make sure to leave as long a stem root as you can.  This can be stuck into some dirt and it will root quickly.

                                                      I have them all around my house.
 Finally, I stuck the cuttings in dirt, they also like sand and pea gravel.  Water sparingly.  They will take hold very quickly so just transplant into the ground or in a pot.  Soon you will have more clusters.  I do plant them in a dryer place outside in our NW weather.  Good drainage is very important.  For those of you who forget to water, these are great as they do not need much watering.
 Here are some stone crop that trail.  I just planted a basket full of succulents so tune in soon.

Saturday, February 4, 2012

Ladder Planter

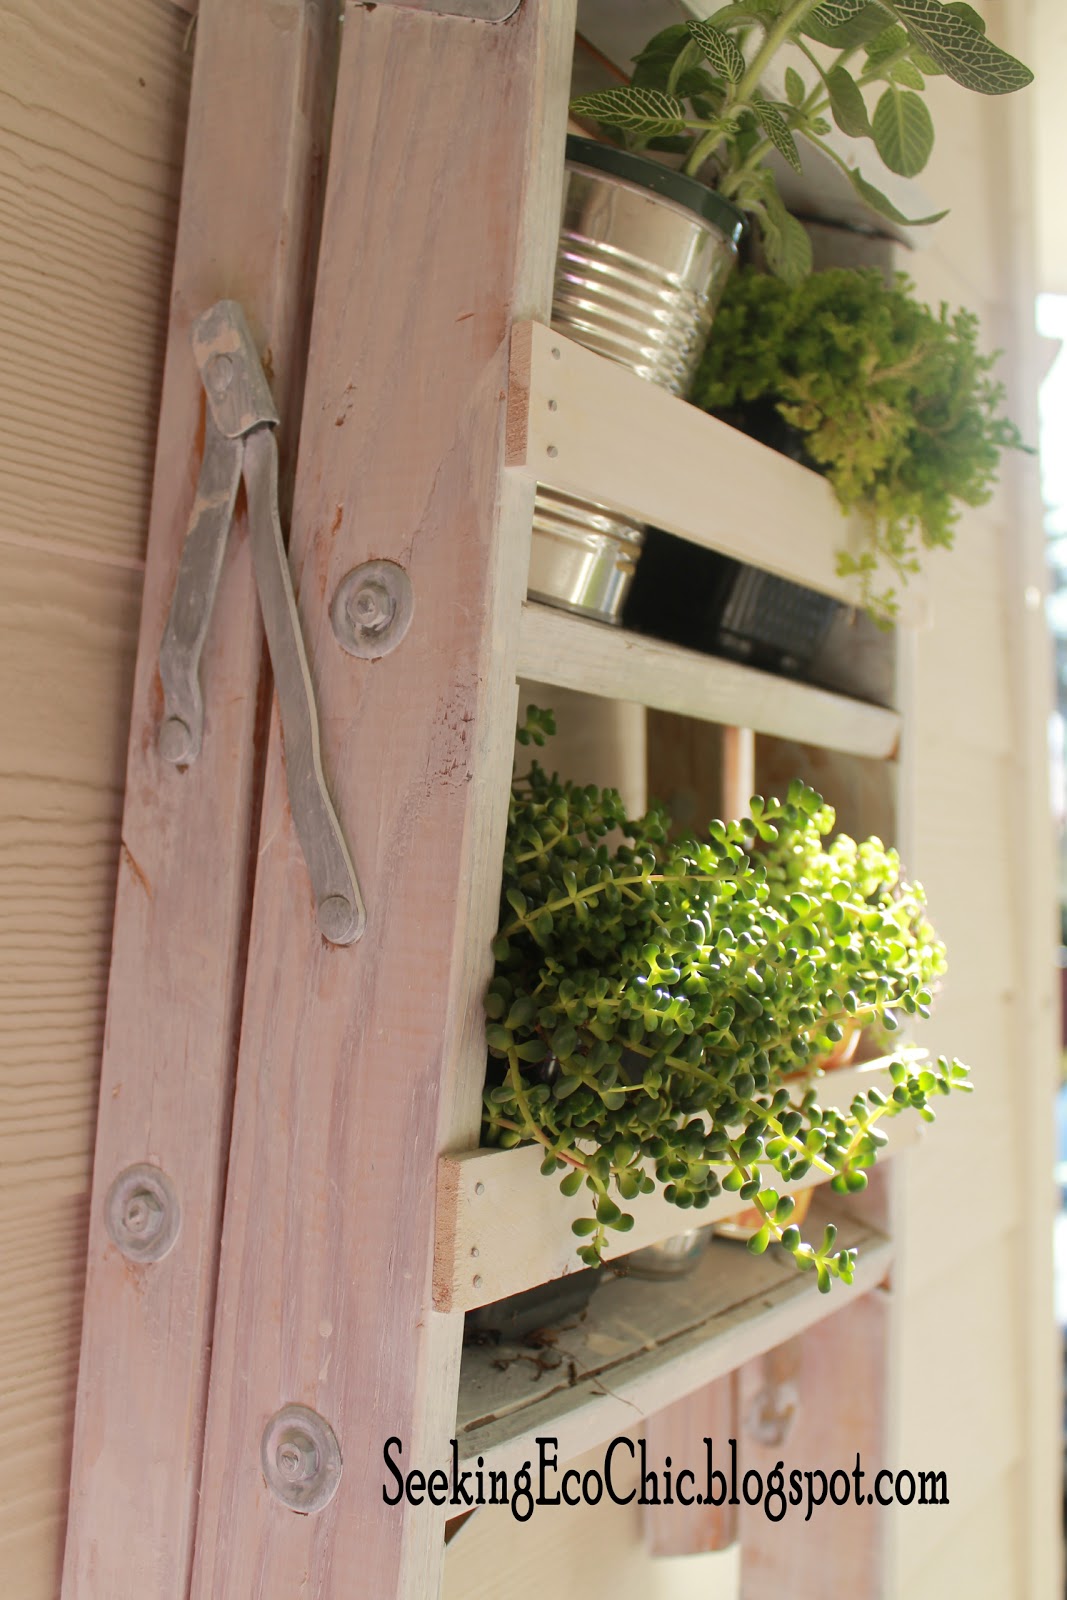
I finally can retire this old ladder.  I have used it for so long and it is so rickety that I should not use it again.  I thought it would make a perfect plant display with a few amendments. 

I started with a little sanding to knock down the paint and clear finish. 
 I used large paint stir sticks for the supports.  They are easy to cut using a razor blade to score it and snapping off on the edge of the counter. 
 I used my left over white paint and mixed it with water.  1 Part water to 3 parts paint.
 Brushed it on and let it sit for a few minutes and wipe with a damp cloth.  I wanted it to be less transparent so I layered it and then lightly sanded.

 I used cans for the pots of the plants.  I like it inside but I ended up putting it on my porch.


Also see this  at Powerofpaint.net Friday Febuary 10,

Wednesday, January 18, 2012

Planting Succulents in a hurricane

I finally moved into a house with light and loving the idea of indoor plants.  Plants just make the home feel good.  I found these succulent plants at New Seasons while grocery shopping, for a great deal.  I just had to get some to plant.  I was heading for a terrarium and really was not ready for all that goes into that, so this is my compromise.  I love how they turned out.
This is what you need..
Succulents of various shapes and colors for contrast.
A glass jar, hurricane, or vase.
Potting solid and rocks for drainage.
I chose to go to the dollar store and found a bag of polished rocks.  It adds to the design.
Yes I do use an old spoon, it makes it easier to position the dirt around the plants.  Finish with some dried moss.


I did this last week and I am surprised how quickly they grow.

Sunday, January 15, 2012

Forcing bulbs

I love spring with all the flowers that come up, but January tends to be a bit dull.  To Brighten the house I wanted to try forcing bulbs.  I purchased some Hyacinth in blues and purples to start indoors. 

Make sure the bulbs are good quality and place them in the fridge for a few days to a week or more.  Start with placing beads, glass, or rocks in the bottom of the jar. The Dollar store often has a good selection of beads and rocks. Set the bulb in and fill to the bottom of the bulb.  Set in the light and watch how quickly you have flowers.  After the bulbs are are done flowering, cut the stems and dry them out.  Store them for next spring.

I placed them in a window in my stairway and love watching the roots start growing in the beads.
This is a great project for children to help with and it is so fun to see how the plant grows.