Showing posts with label repairs. Show all posts

Friday, April 20, 2012

Restart a garbage disposal

Last night the sink disposal stopped just as I was finishing the dishes.  Dinner scraps and dirty water filled the sink.  Not how I wanted my evening to end.  I turned off the humming machine and stuck my hand down the greasy drain {it is recommended to turn off the breaker first}  I did think about  turning off the breaker so the machine would not mysteriously turn on.  Like that movie I saw as a kid. 
I was a bit frustrated that it did not start and I did not know exactly how to start it either. 
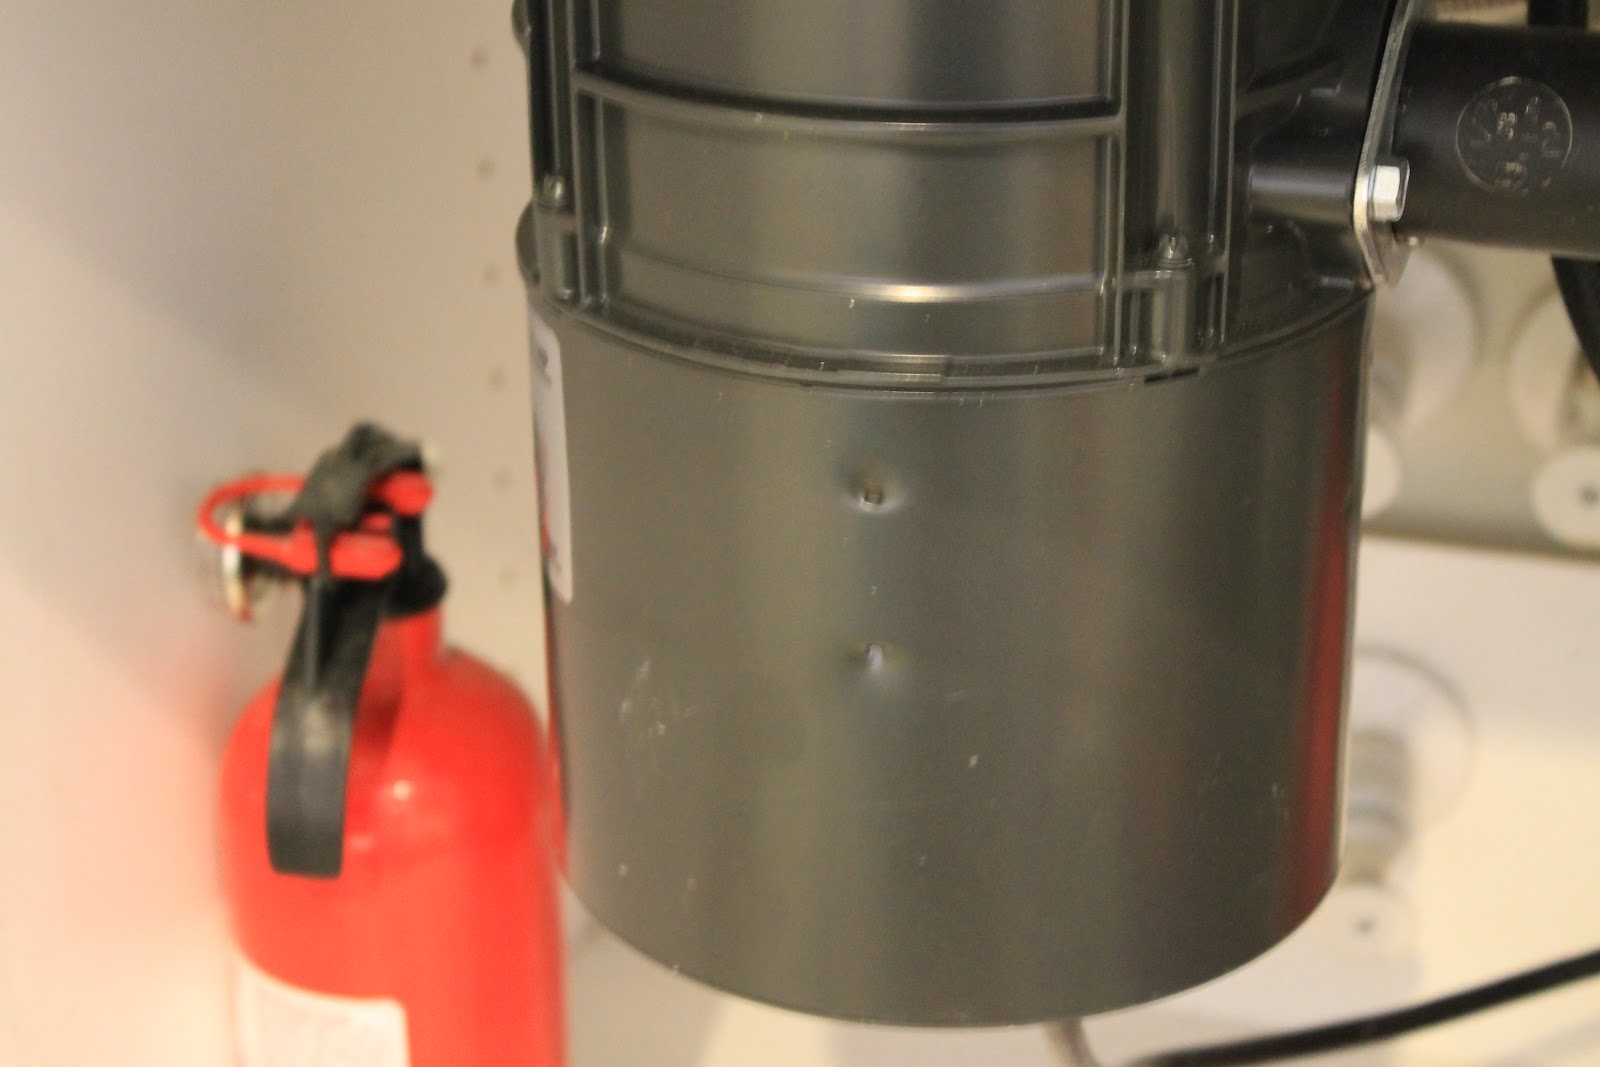
My son and I experimented this morning as the sink started to smell.  We figured it out. 

First: there was a small rag that got stuck in the blade.  It was pulled out and then I used a wooden spoon, {and my hand, again not recommend}  to make sure the blade was free moving.   If it is not
there may still be something stuck in it still.

Second: I had to climb on the floor to see underneath the disposal.  There is a button to reset the machine, Pressed it.  AARGh.  It did not start.  I am getting a bit cranky by now since I am not eating until it is done.

Third: There is this neat little tool to turn a hole on the bottom of the machine to free up the blade and clear the pipeline.  Turn it back and forth, not around, to clear it and then hit the reset button.


 Above is the little tool, though you do not need the tool if you have hexagon shaped ones in your tool box.


Here is the red reset button and in the center is where the tool goes in.  I moved it back and forth about 2 inches each way several times.  This one also has a QR code.  We scanned it and it also had instructions.  Of course I did not see that til I was already doing what it needed. {Note to manufacturer, put code on side so we can use it}

Now back to my normal programming, Crafting tomorrow.

Monday, March 19, 2012

Wall repairs

I am getting ready to decorate my boys bedroom and needed to make some wall repairs to touch up the room.   I run into many clients that fill holes improperly, it is not as hard as some people make it.  Here is what I do when facing a hole in the wall.

 This is a larger hole that can be filled with spackle.  I recommend Lightweight spackle in stead of joint compound or vinyl spackle.   Light weightspackle will dry quickly.  You know it is the right stuff because the pint will be very light weight. 

*First scrape the hole with the end of a putty knife to flatten it and then fill it with spackle, NOT TOOTHPASTE!  which is quite common and does not work in the long run.

 This hole has to much spackle and can be wiped off with a moist cloth.  You want the hole to be flush with the wall.  A cloth is much easier than sanding. 
 If you have a molly in the wall, use a flat screw driver and tap it in with a hammer on the end of the screwdriver.  Then it is ready to fill.


Above is the hole dry  and to the right I have wiped the dry spackle with a moist cloth with very little pressure.  Now it is ready to touch up with paint. 
I have seen holes filled with large amounts of mud, spackle, and toothpaste.  All of which need more work than needed.  Lightweight spackle easily wipes away with water and avoids sanding in most cases.  I will be showing larger repairs coming soon.